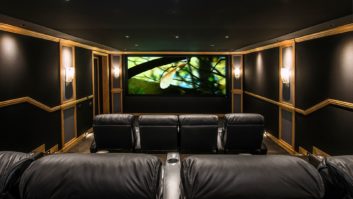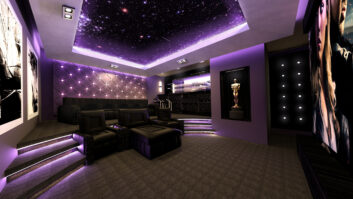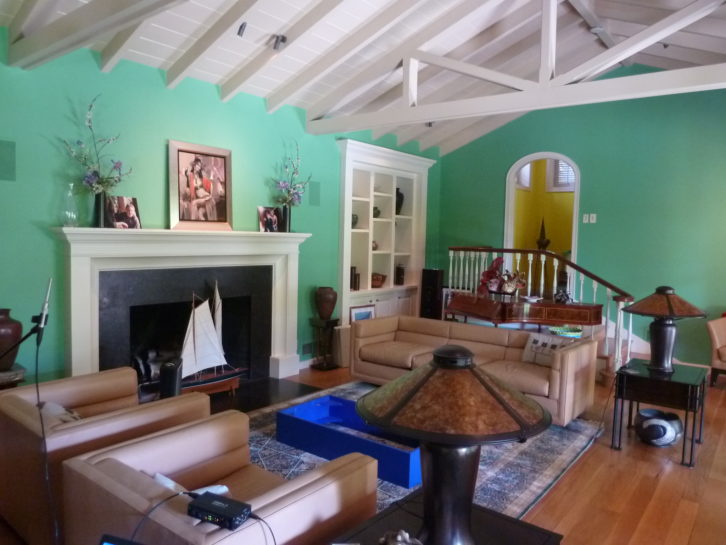
We often get asked to calibrate or improve the sound quality of systems in large reverberant rooms with no options for acoustical treatment due to aesthetic restrictions. We usually cringe at the idea, because the room overlays such an acoustic thumbprint that there is theoretically little you can do to counter the reflections and get back to the original sound. But all is not lost! Let’s take a look at the steps you can take.
Position the speakers as best you can, checking with the customer if it’s aesthetically acceptable. Keep speakers at least 2-3 feet away from walls or corners, aim them toward the listening area, make sure their dispersion covers all the seats, and decouple them from the floor.
Manage the spectral balance of the direct + decaying soundfield. Some speakers just have a bad direct sound, which you can correct with straightforward EQ. The decaying sound will be different from the direct, because it has been influenced by the room. Without acoustical treatments, it isn’t possible to EQ just the decaying field without affecting the direct response.
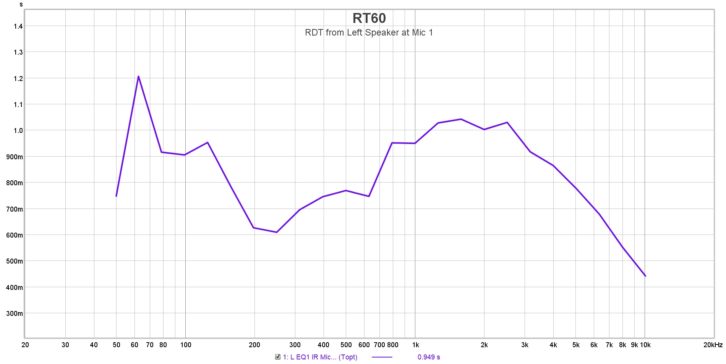
You can “cheat” this by tailoring the target curve to compensate for the irregularities in the decaying soundfield. Start by capturing “impulse response” data at the main seat positions from each speaker. From there, process a measurement time window and look at the initial “direct response,” then look at about 30ms, and then go all the way out to three seconds to see the speaker + room’s decaying response. Humans “hear” a combination of these two that varies depending on frequency and time between them. In a large room, it is common to see longer decay time in the midrange compared to bass and treble, because air absorbs highs more and bass is dissipated in the larger space.
Also by Anthony Grimani: The Phantom of the Home Theater
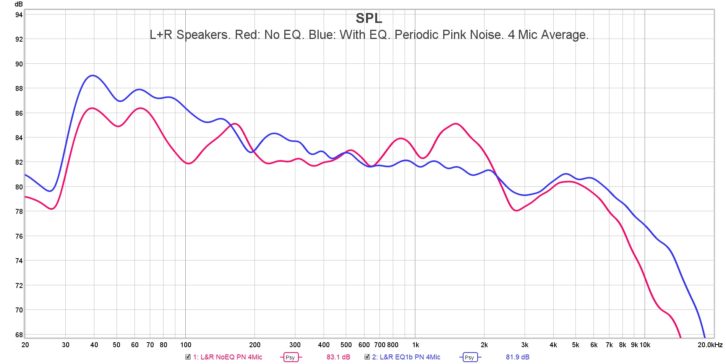
From your impulse response measurements, compare the direct field, the mid-field, and the far-field. Look at the various data curves as they extend in time, and also look at the reflection decay data. Then EQ, listen to pink noise on good ear buds, listen to pink noise through the speakers, listen to program material. Rinse and repeat. The overall shape of the measured curve should be a gradual slope down from bass to treble. The signal correction curve in the EQ may feature a depressed midrange not usually present in well-damped rooms. This is to compensate for the longer midrange decay time.
Now it gets more complicated, as you have to account for spatial hearing. Phantom images in stereo are the complex result of phase and amplitude response from two speakers playing the same thing at the same time, which is interpreted by our brains as sound coming from points in space where it isn’t. We also know that pin-point imaging usually doesn’t work in large rooms because of the long decay times. Thankfully, you can do something about this using a tool called an “all-pass filter.”
All-pass filters change the phase of the signal without changing the amplitude. They’re common in professional audio DSP processing units. You’ll want to adjust the center frequency and bandwidth of the all-pass filter so that it affects the specific frequency range where phase issues are messing with the imaging. The most effective method I’ve used so far is to invert the polarity of one speaker, listen to pink noise out of both speakers, and work on any frequencies that are still imaging between the speakers.
Also by Anthony Grimani: A Battle Royale for Home Entertainment
By inverting the polarity of one speaker, everything should sound like it is coming from an anomalous “fog bank” outside the speakers. If any frequencies remain centered between them, something about the room-speaker interaction is inverting phase in that frequency region. Use your all-pass filter to knock the phase of that frequency range around until it dissipates into the fog. Then, when you flip the inverted speaker back to the correct polarity, everything will be in-phase. You can click the all-pass filter in and out to demonstrate the tighter center imaging. I am convinced that most customers enjoy that sense of spatial realism even more than the corrected spectral balance!
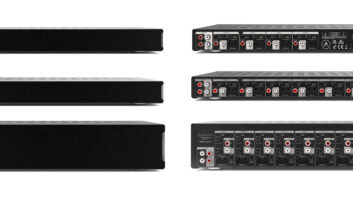
Now let’s talk equipment. I recommend using a professional-grade digital amp with DSP that includes EQ and all-pass filters; it is less cumbersome than trying to integrate third-party DSP with traditional consumer audio gear. Naturally, you’ll also need a good manual acoustical measurement system. I use REW, an amazingly powerful free tool (donations appreciated).
At the end of the day, you can use the above techniques pretty effectively to get a system in a large reverberant room to be listenable for music. If you expand to surround and movies, it’s hard to get great dialog clarity, and there is still a kind of glaze that gives every track the same feel. It’s better than when you started, but always remember that you’re just making the situation “less bad.” Keep pushing for some type of acoustical control wherever possible too!
Anthony Grimani ([email protected]) is president of Grimani Systems, PMI Engineering, and Dimension4 Acoustics, with offices in San Francisco, Los Angeles, and Paris.
Chase Walton ([email protected]) contributed to this article.