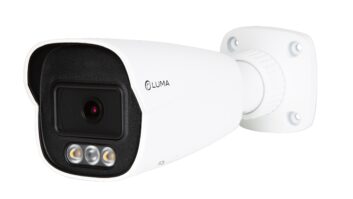
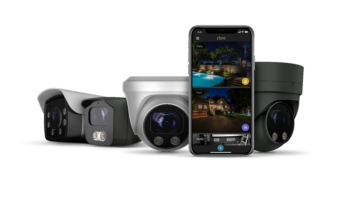
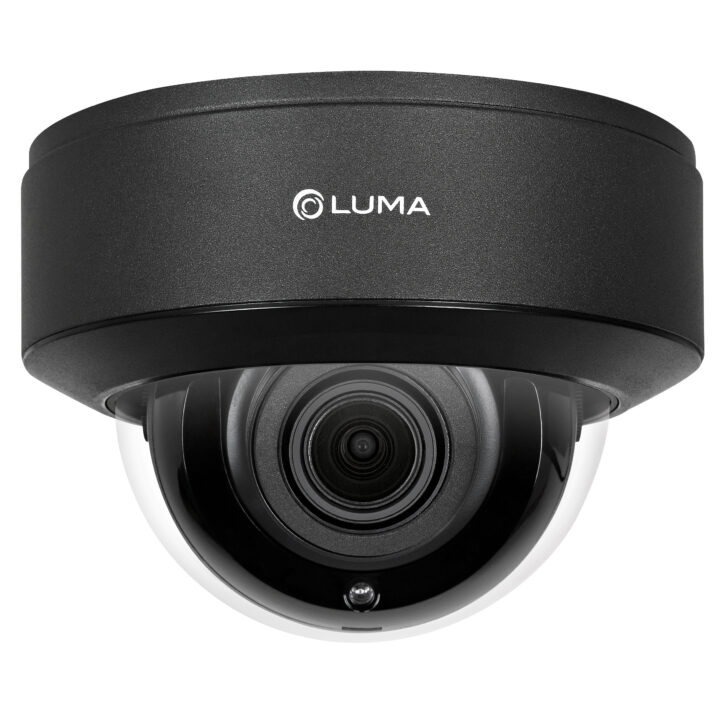
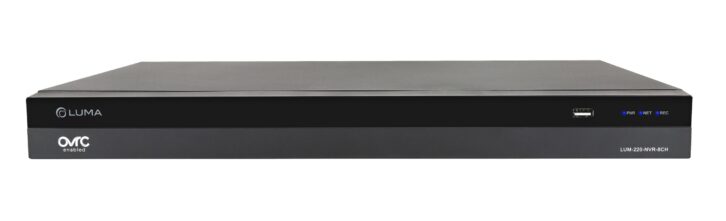
Mark and I recently took delivery of a full Luma surveillance package from Snap One, including the 220 series 8-channel NVR, 820 series 8MP outdoor bullet camera, 31 series 2 MP indoor bullet camera, 520 series 8MP outdoor PTZ dome camera, and 520 series outdoor turret camera. Everything comes packaged in well-labeled boxes, making it easy to hand off to your installation team for them to install in the correct location. We both immediately noticed that the NVR is only 1U, saving valuable space in the rack. One change we would like to see is the placement of the identification sticker on the NVR because once installed in a rack, it’s difficult to view and we’d like to see it placed on the back of the NVR instead.
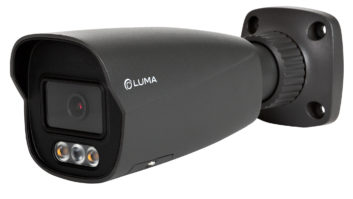
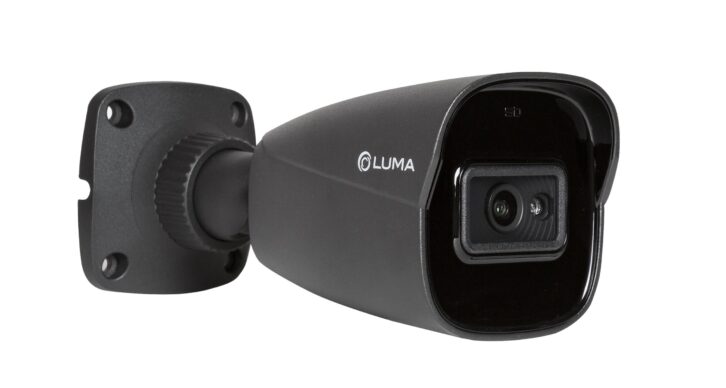
We really love that each camera has an SD slot (SD card not included) so the cameras can be used standalone without an NVR on smaller systems when a client just needs one or two cameras, which is frequently the case for our NYC clients who just want a camera pointing at the front door of their apartment or a nanny cam if they have young children. We also love the LED lights on the LUM-520-IP-TFCW camera (probably Todd’s favorite camera of all time). This light can be scheduled to turn on and off at certain times of the day. That way there is always light, which is especially useful for areas where there is no external light source. We would love to see the ability to adjust the schedule to compensate for sunrise and sunset times, as well as to activate the lights only upon events, and not have to be on the whole time.
Once installed, you can configure everything from the OvrC app. Configuring the NVR is as easy as configuring a Wattbox or Araknis switch. You just go to OvrC, do a scan, and configure the NVR from there. Any cameras connected are automatically detected and you can name them there. Also, any other cameras in the home, even those not connected directly to the NVR, are available in the “Details” tab in OvrC and can be linked to the NVR. All credentials for your control systems and integrations are available under the configuration tab as well, with a handy little “copy to clipboard” icon. You can then go into the cameras through OvrC and configure each one, camera by camera. Line crossings, intrusions, activity zones, schedules, video quality, SD Card settings, presents, etc. are all done through OvrC. You can even apply your video quality settings from one camera to any or all of your additional x20 cameras with a simple click at the bottom of the configuration screen. Credentials are also available for the cameras in OvrC for your control system integrations.
The initial configuration is as simple as that. The NVR and Cameras are up and running and you can integrate with your control system of choice. Update firmware on the cameras (by selecting each on in the OvrC Devices tab) and the NVR and you are good to log into the NVR to configure detections and notifications.
More in-depth configuration means logging into the NVR through a browser. Here is where we hit our first snag. While there is “copy to clipboard” icon in OvrC, the password field in the browser window will not allow paste (we tried in Safari, Chrome, and Edge on a PC, iPhone, and iPad, all with no luck), so the password must be typed manually and the initial password is a mix of lower case and caps. If you make a mistake, there is no way to know because there is no way to see what you are typing and the password and username field completely reset to blank. While we found this a little challenging, Snap One let me know that their upcoming firmware update will correct this issue for all Partners.
After logging into the NVR and changing your default password if you so choose, you can go to the Function Panel on the menu bar and configure all your event detections, alarms, and notifications. Configuration options include detection of line crossing or intrusion for people and vehicles and when you want notifications sent (24/7, 24/5, 24/2, or a custom schedule). Once detections and notifications have been configured, you can use the Intelligent Analysis tab to view the activity based on human body, vehicle, or a combination of both.
You can also view all playback through the NVR in the browser window and can create backups and search backups by event, time, motion, etc.
Your NVR and cameras are configured and ready to go. It should only take an hour or two to go through everything, depending on how many cameras you have to set up event detection and notifications on.
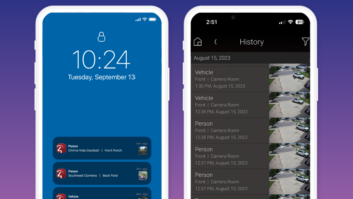
Additionally, Luma x20 family offers a new customer handoff feature that essentially allows integrators to give end users control over who is authorized to view their live video and recordings and, therefore, ensures the end user’s privacy is protected. End users can access their system through the Luma View app and, if needed, the integrator’s access can be re-instated by the end user through OvrC for troubleshooting, adjustments, or diagnostics.
With easy setup and configuration through OvrC, we are really loving the new x20 series. As people who believe in eating the groceries, we are both huge Luma supporters — we both have Luma systems in our own homes and install Luma surveillance almost exclusively. While there are other very capable product lines out there, we love that Luma is part of the Snap One family of products and integrates easily and effortlessly with everything Snap One (including Control4 for Mark), we get top-notch tech support Snap One is famous for, and our spend on Luma cameras counts towards our Snap One number.
For more information, visit https://www.snapav.com/shop/en/snapav/luma-overview.